

Chapter 1
Start Here
What is Remix?
Remix is a full-stack TypeScript framework for building web applications. It provides typed routing and middleware, a UI component model with server rendering and browser hydration, navigation, styling and event primitives, data validation and persistence, authentication and sessions, asset compilation, and testing. For most web apps, remix can be the only runtime dependency in package.json.
Web APIs connect these parts. A route receives a Request and returns a Response. That response can contain HTML rendered from Remix components, and components can hydrate in the browser when they need to handle interaction. The same typed route definitions match incoming requests and generate URLs for links, redirects, and forms.
These APIs ship together through focused subpath imports from the remix package. Their underlying packages can also be used independently.
The design of Remix comes from six core principles:
- Model-First Development. Remix optimizes source code, documentation, tooling, and abstractions for LLMs, and provides primitives for using models inside the products you build.
- Build on Web APIs. Remix builds on
Request,Response,URL,FormData, headers, cookies, and JavaScript because shared platform APIs reduce context switching across the full stack while keeping your application portable. - Religiously Runtime. Remix APIs do not depend on bundlers, type generation, or static analysis. Routes, middleware, controllers, and tests should run as ordinary runtime code.
- Avoid Dependencies. Remix chooses dependencies carefully, wraps them behind its own boundaries, and works toward replacing them with focused packages when the framework needs long-term control.
- Demand Composition. Remix packages are single-purpose, replaceable, and useful on their own. You can add or remove pieces as an app changes, while tightly coupled modules belong together.
- Distribute Cohesively. Remix keeps the ecosystem easy to learn and use by distributing the composable pieces through one
remixpackage and one documentation path.
The fastest way to understand Remix is to build one feature across the stack: define a route, return a server-rendered page, handle a form submission, and hydrate one component for browser interaction.
Quickstart: create and run a Remix app
The quickest way to start a Remix app is with the remix CLI. It creates a small full-stack application with a Node server, typed routes, render middleware, a server-rendered home page, source-served assets, and one hydrated component.
First run:
npx remix new my-remix-appNext, install the project dependencies:
cd my-remix-app
npm iA note on the dependencies: go ahead and open package.json and you will see one runtime dependency: remix. Your app uses this single package for the server adapter, router, middleware, UI, assets, and client entry.
{
  "name": "my-remix-app",
  "private": true,
  "type": "module",
  "dependencies": {
    "remix": "^3.0.0"
  }
}Finally, start the dev server:
npm run devThe server prints the local URL when it starts. By default, the dev server listens on http://localhost:44100.
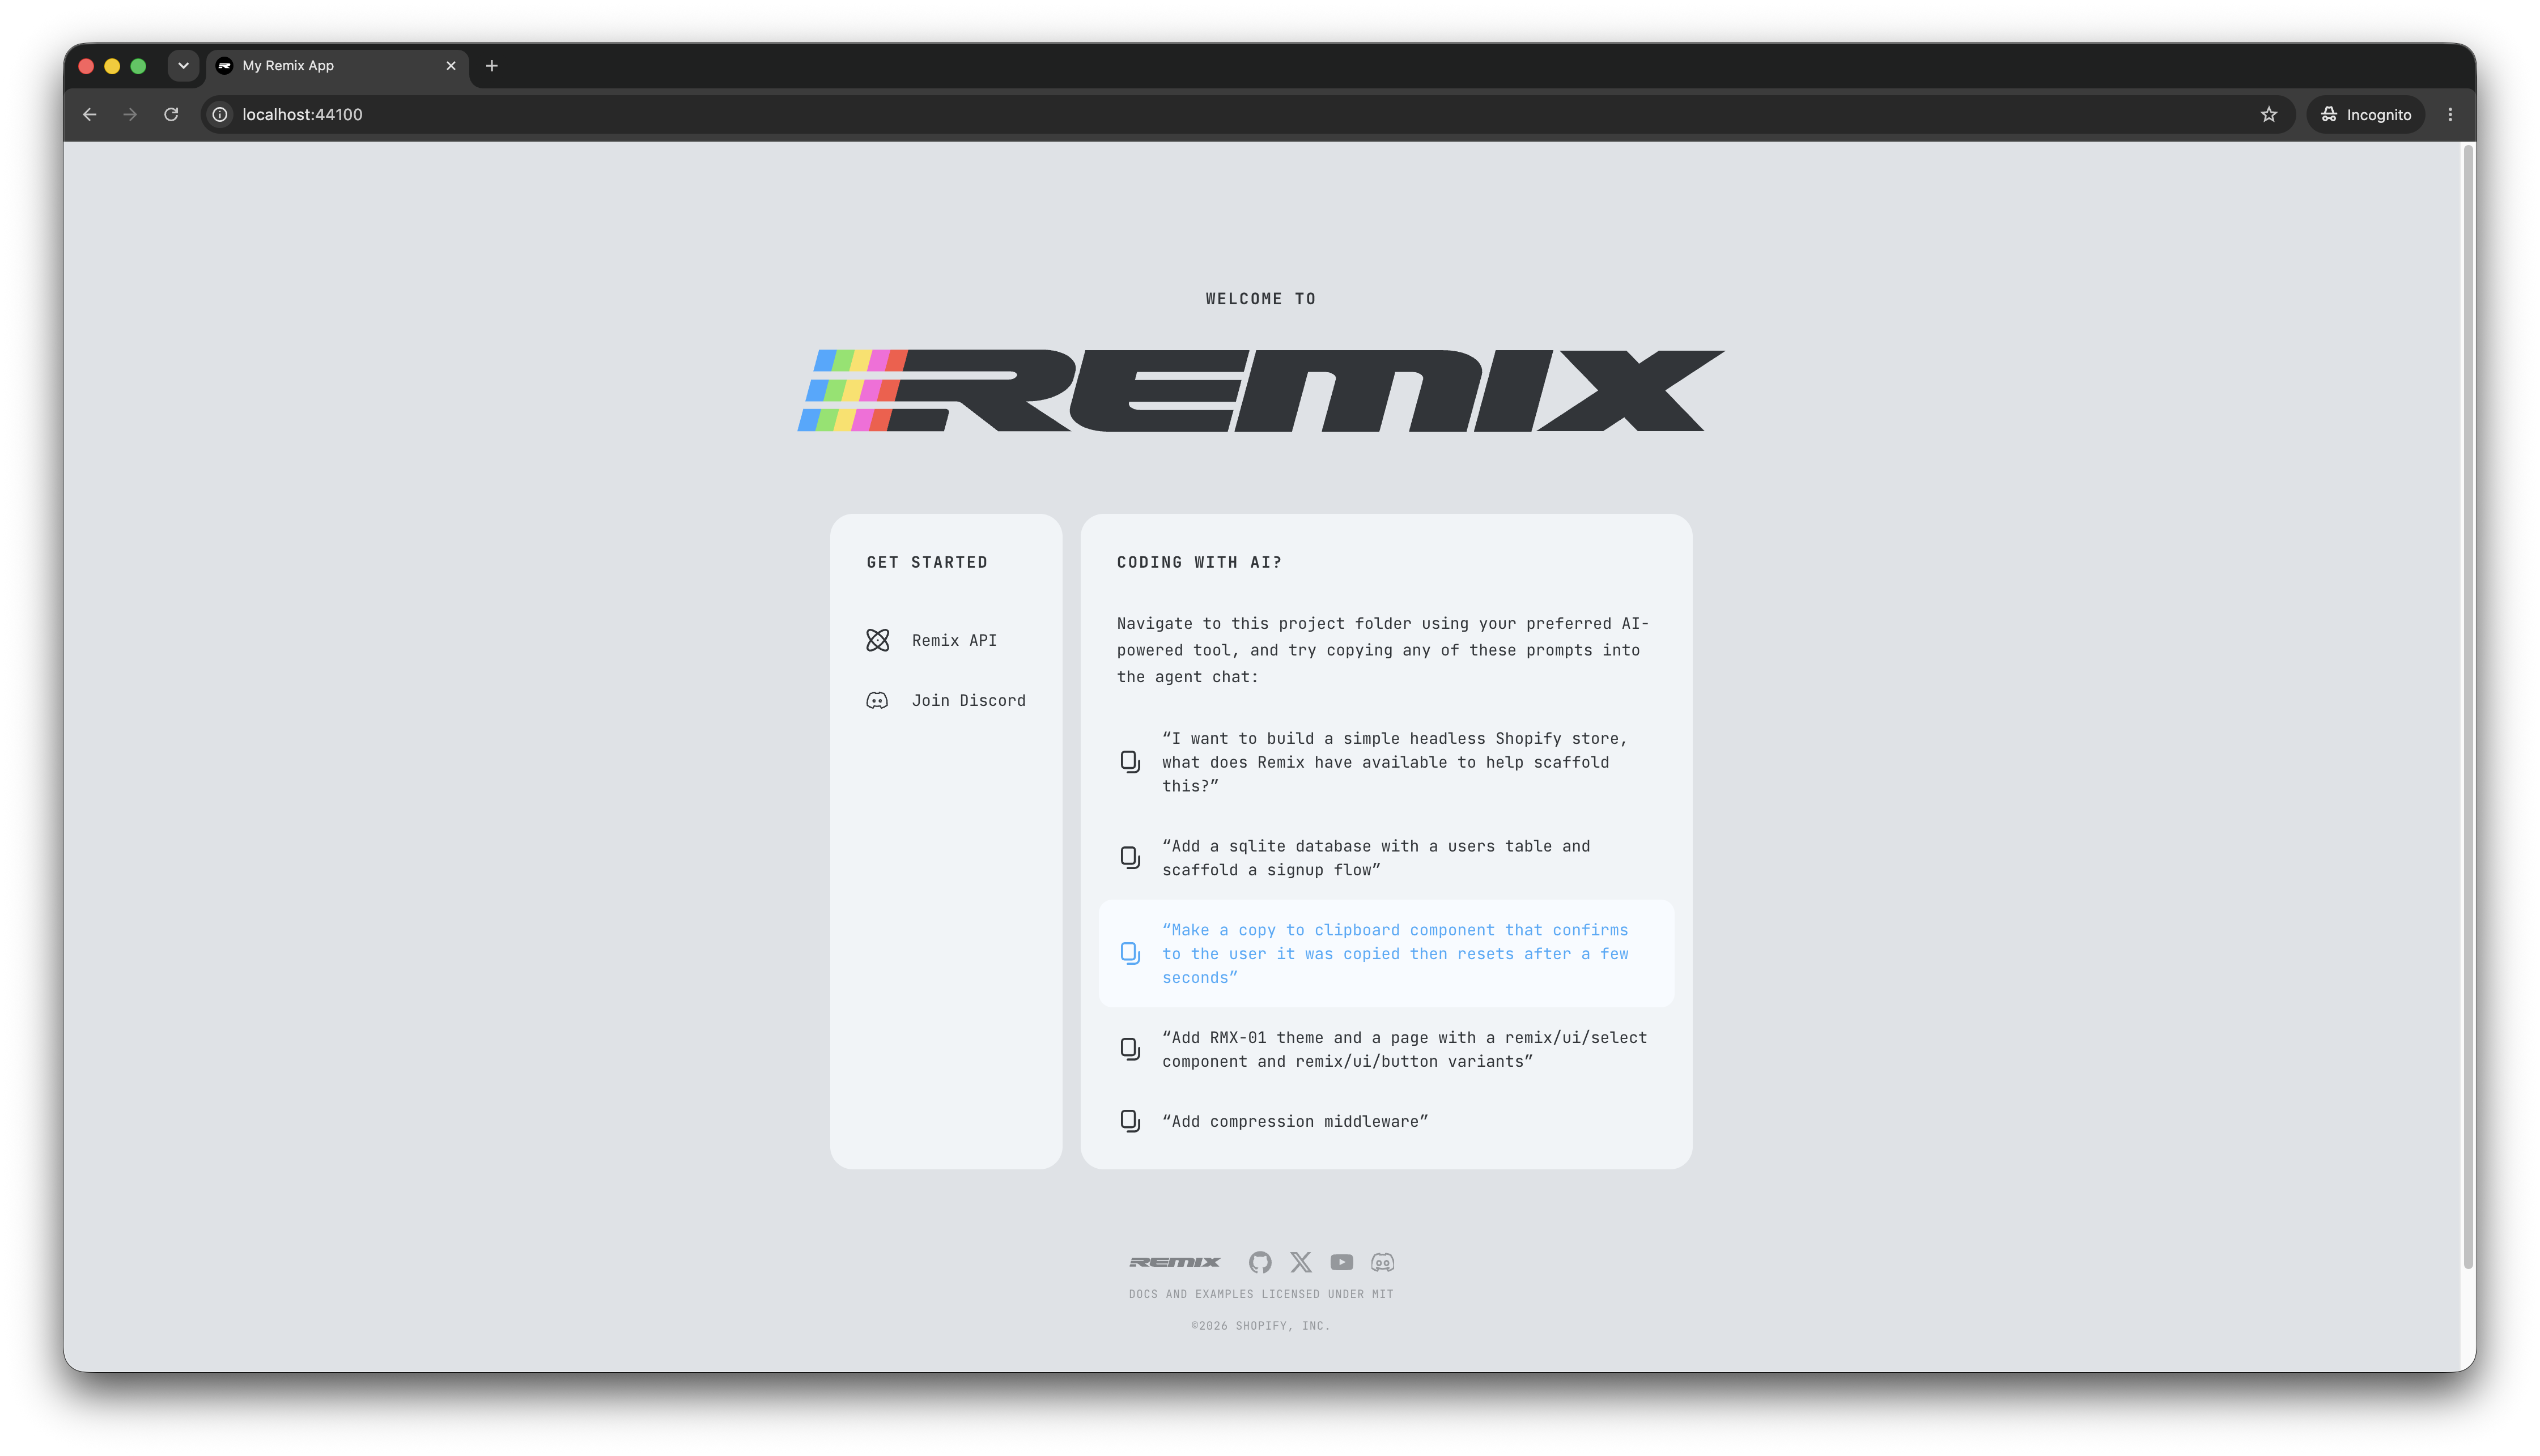
Your new app includes an Agent Skill and a home page with prompts you can copy into an agentic coding environment. Try one if you want to explore on your own. When you are ready, come back here and we'll take a tour of the files.
Project tour: where code lives
A typical Remix application keeps the request flow visible in the file structure. An HTTP request enters server.ts, is handed to app/router.ts, runs through middleware, is matched against the route definitions in app/routes.ts, is handled by a route action in app/actions/, and returns a Web Response. Often, that response is HTML generated by a Remix component, but the same action can return redirects, JSON, files, streams, errors, or any other Web response.
That flow gives all of your code a clear home: define routes in routes.ts, connect middleware, routes, and controllers in router.ts, handle route-specific behavior in actions/, and put shared views and layouts in ui/. Browser-reachable source lives in public/ directories beside its narrowest owner, making the server/browser boundary explicit in the file structure.
my-remix-app/
├── server.ts                  # request entrypoint for this runtime
└── app/
    ├── routes.ts              # route definitions, route map, and URL helpers
    ├── router.ts              # middleware, routes, and controller mapping
    ├── middleware/            # request middleware and context providers
    ├── actions/               # controllers, route actions, and route-local UI
    │   ├── controller.tsx     # root route controller
    │   ├── document.tsx       # app document shell
    │   └── public/
    │       └── entry.ts       # starts the browser runtime
    ├── ui/                    # shared views, layouts, and Remix components
└── assets.ts # browser module server configuration and entry hrefsWe're going to touch on each of these files in more depth by building out a small feature. The only file we won't touch is server.ts. Here's a simplified version:
import * as http from "node:http";
import { createRequestListener } from "remix/node-fetch-server";

import { router } from "./app/router.ts";

const requestListener = createRequestListener(router.fetch);
const server = http.createServer(requestListener);

server.listen(44100, () => {
  console.log("Server listening on http://localhost:44100");
});server.ts is the runtime entrypoint. In our Node-based example, it creates an HTTP server, adapts each Node request into a Web Request, and passes it to router.fetch(request).
The Request Handling chapter digs into runtime adapters, createRequestListener, middleware ordering, and typed request context.
Define your first route
In Remix, routes are defined separately from the actions that handle matched requests. In app/routes.ts, we define the URLs and HTTP methods your app accepts. In app/actions/, controllers decide what Response to return when one of those routes matches.
Keeping the URL contract separate gives controllers, links, forms, redirects, and tests one typed source of truth without coupling URL generation to request handling.
Start by defining a route where we can view different albums in a digital record store:
import { get, route } from "remix/routes";

export const routes = route({
  assets: get("/assets/*path"),
  home: "/",
  albums: {
    show: get("/albums/:albumId"),
  },
});That route definition does a lot:
- Defines
albumsas a route group andshowas the route name we'll reference in code. - Narrows the
showroute withget()so onlyGETrequests match. - Defines the URL pattern
'/albums/:albumId', so pathnames like/albums/thrillermatch. - Uses
:albumIdas a path variable, which becomes a route param we can read asparams.albumIdin the action. - Provides a typed href constructor:
routes.albums.show.href({ albumId: 'thriller' }).
Along with path variables like :albumId, route patterns can express wildcards, optional groups, search constraints, hostnames, and full origins.
Now that we're setting up an albums route map, we'll keep things organized by creating a directory in app/actions/ for everything related to the albums routes and creating a file for our controller.
mkdir app/actions/albums
touch app/actions/albums/controller.tsxThis controller will start pretty small, just handling the single show action we have so far. Notice that when we pass routes.albums into createController, it requires that we provide actions with a show function. show itself receives type-safe params, so we can guarantee the existence of albumId from the :albumId path variable we set up.
import { createController } from "remix/router";

import { routes } from "../../routes.ts";

export default createController(routes.albums, {
  actions: {
    show(context) {
      return new Response(`Album: ${context.params.albumId}`);
    },
  },
});Finally, we need to map the albums route map to our router in app/router.ts:
import { createRouter, type RouterContext } from "remix/router";
import { render } from "remix/middleware/render";
import { staticFiles } from "remix/middleware/static";

import controller from "./actions/controller.tsx";
import albumsController from "./actions/albums/controller.tsx";
import { routes } from "./routes.ts";

// ...

router.map(routes, controller);
router.map(routes.albums, albumsController);For now the show action returns a plain Web Response.
Navigate to http://localhost:44100/albums/thriller in your browser and you should see this text response:
Album: thrillerThe Routing and Controllers chapter covers route maps and route builders in more depth.
Build your first page
Let's make this album page a little more interesting by returning HTML from a Remix component.
A component is a function that receives a handle and returns another function that renders JSX. The outer function is setup: it runs once when the component is created, so normal JavaScript variables declared there can hold local state. The returned function is render: it runs on the first render and every update afterward.
We'll come back to the component model later. If you want the full model now, check out the Rendering UI chapter.
function MyComponent(handle) {
  // Setup phase: runs once when this component is created.
  // The handle gives the component access to props and other Remix component APIs.

  return () => {
    // Render phase: runs on the first render and every update afterward.
    // Return JSX from here.

    return <div>Hello, Remix</div>;
  };
}Now we can create a simple UI for our album page. We'll use the existing Document component defined elsewhere to add our app's shell:
touch app/actions/albums/show-page.tsximport type { Handle } from "remix/component";
import { Document } from "../document.tsx";
export function AlbumPage(handle: Handle<{ id: string }>) {
return () => {
return (
<Document title="Album — Albums">
<main>
<h1>{handle.props.id}</h1>
</main>
</Document>
);
};
}To use this component we need to render and return the response in our action. The route still returns a Web Response, but context.render(...) creates that response from a component tree instead of a string. Pass the matched albumId through for now so the page keeps showing the route param from the previous section. The middleware comes from remix/middleware/render. Rendering UI covers the component model, and Streaming UI with Frames covers the renderer behind context.render(...).
import { createController } from "remix/router";

import { routes } from "../../routes.ts";
import { AlbumPage } from "./show-page.tsx";

export default createController(routes.albums, {
  actions: {
    show(context) {
      return context.render(<AlbumPage id={context.params.albumId} />);
    },
  },
});For this walkthrough we're going to set up a small in-memory database. The Data and Validation chapter covers real database setup in more detail.
touch app/actions/albums/data.tsexport type Album = {
artist: string;
id: string;
title: string;
year: number;
};
let albums: Album[] = [
{
artist: "Michael Jackson",
id: "thriller",
title: "Thriller",
year: 1983,
},
];
export async function getAlbum(albumId: string) {
return albums.find((album) => album.id === albumId);
}
export async function updateAlbum(albumId: string, values: Partial<Album>) {
let album = albums.find((album) => album.id === albumId);
if (album === undefined) {
return undefined;
}
// Simulate network latency
await new Promise((resolve) => setTimeout(resolve, 1000));
Object.assign(album, values);
return album;
}Now we can use the route param to "load" the appropriate album, return a 404 if it is missing, and pass the album data into the component as props:
import { createController } from "remix/router";

import { routes } from "../../routes.ts";
import { getAlbum } from "./data.ts";
import { AlbumPage } from "./show-page.tsx";

export default createController(routes.albums, {
  actions: {
    async show(context) {
      let album = await getAlbum(context.params.albumId);

      if (album === undefined) {
        return new Response("Album not found", { status: 404 });
      }

      return context.render(<AlbumPage album={album} />);
    },
  },
});Let's tweak our AlbumPage component to display the album data:
import type { Handle } from "remix/component";

import type { Album } from "./data.ts";
import { Document } from "../document.tsx";

export function AlbumPage(handle: Handle<{ album: Album }>) {
  return () => {
    let { album } = handle.props;

    return (
      <Document title={`${album.title} — Albums`}>
        <main>
          <p>
            {album.artist} · {album.year}
          </p>
          <h1>{album.title}</h1>
        </main>
      </Document>
    );
  };
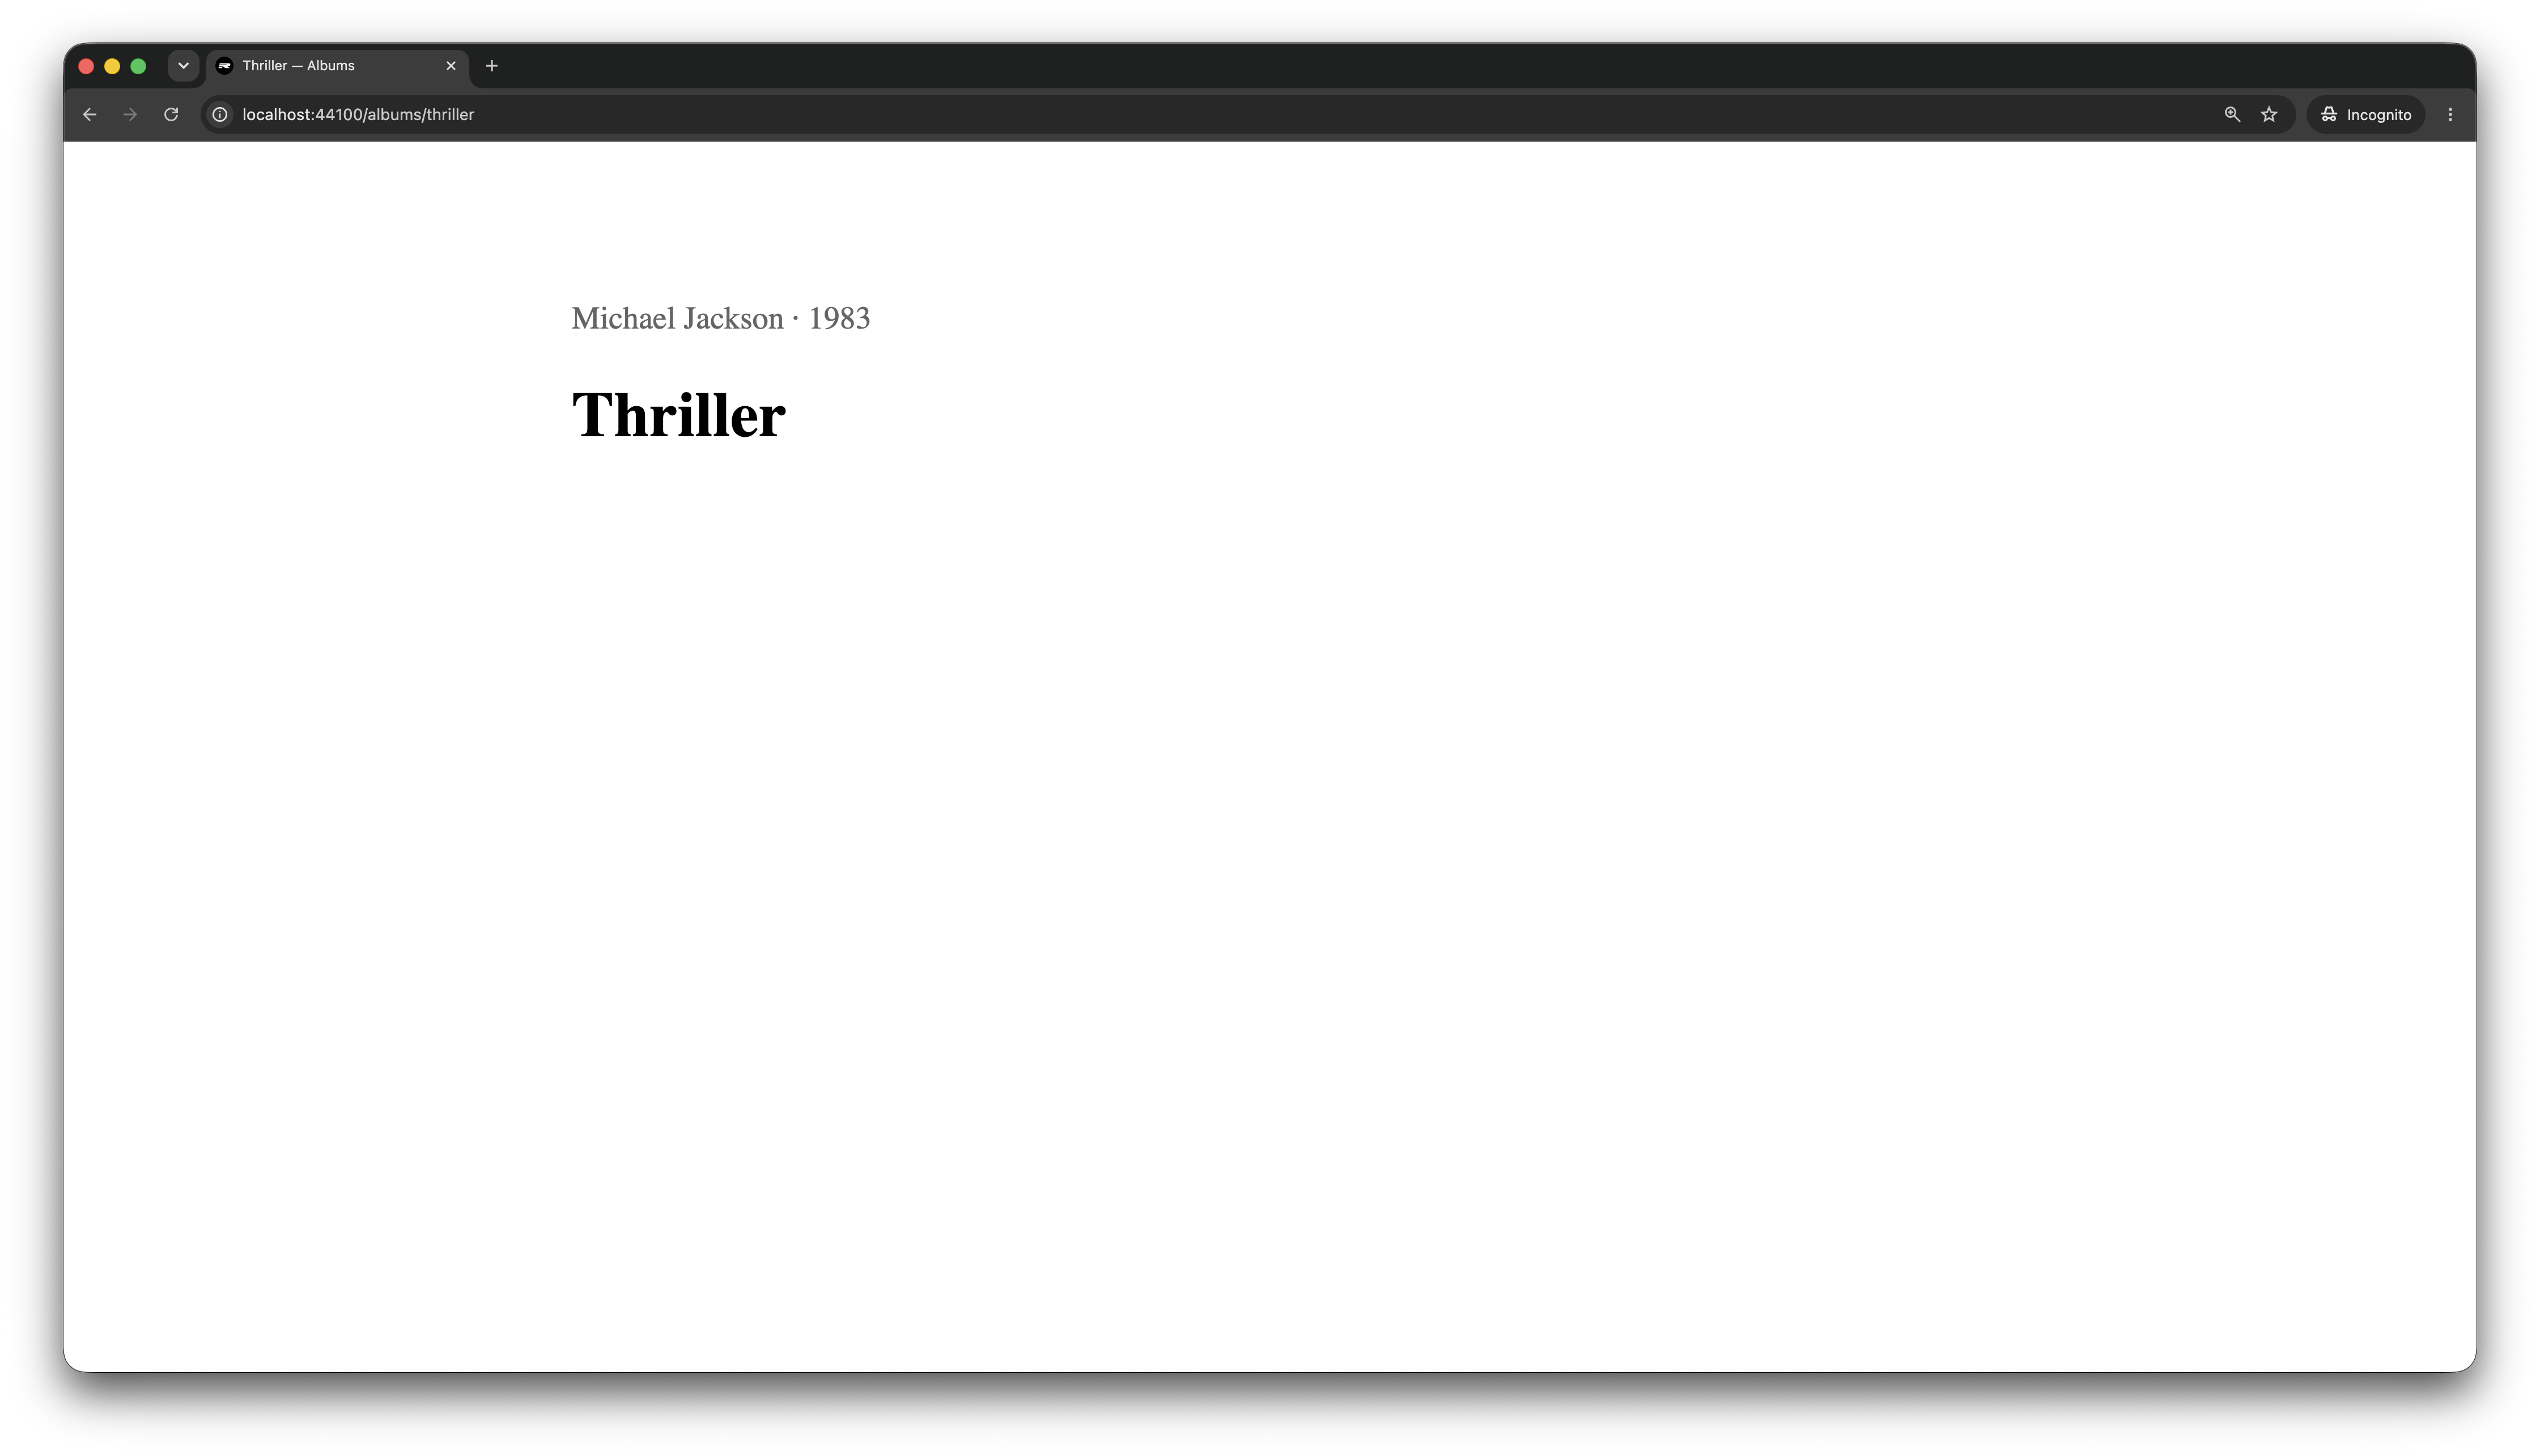
}Now the page displays the album title, artist, and year.
Center it and add a little spacing with the css function and mix prop. The Rendering UI chapter covers this helper and prop in more detail.
import type { Handle } from "remix/component";
import { css } from "remix/component";

import type { Album } from "./data.ts";
import { Document } from "../document.tsx";

export function AlbumPage(handle: Handle<{ album: Album }>) {
  return () => {
    let { album } = handle.props;

    return (
      <Document title={`${album.title} — Albums`}>
        <main
          mix={css({
            maxWidth: "44rem",
            margin: "0 auto",
            padding: "4rem 1.5rem",
          })}
        >
          <p mix={css({ color: "#666" })}>
            {album.artist} · {album.year}
          </p>
          <h1>{album.title}</h1>
        </main>
      </Document>
    );
  };
}Open http://localhost:44100/albums/thriller again. The same URL now returns the album page.
Build your first form action
We can retrieve and display an album. Next, let's add a form and a POST action that can update it.
Back in routes.ts, use the form() route helper. It creates two routes at the same URL: a GET route that shows the form and a POST route that handles the submission.
import { form, get, route } from "remix/routes";

export const routes = route({
  assets: get("/assets/*path"),
  home: "/",
  albums: {
    show: get("/albums/:albumId"),
    edit: form("/albums/:albumId/edit"),
  },
});In this case form('/albums/:albumId/edit') creates:
routes.albums.edit.indexforGET /albums/:albumId/edit.routes.albums.edit.actionforPOST /albums/:albumId/edit.
Since albums.edit is a nested route map, let's set up an edit/ directory with a controller and module for our form.
mkdir app/actions/albums/edit
touch app/actions/albums/edit/controller.tsx app/actions/albums/edit/page.tsxWe'll scaffold out the controller:
import { createController } from "remix/router";

import { routes } from "../../../routes.ts";

export default createController(routes.albums.edit, {
  actions: {
    async index() {
      return new Response();
    },
    async action() {
      return new Response();
    },
  },
});And map it to the router as well:
import { createRouter, type RouterContext } from "remix/router";
import { render } from "remix/middleware/render";
import { staticFiles } from "remix/middleware/static";

import controller from "./actions/controller.tsx";
import albumsController from "./actions/albums/controller.tsx";
import albumsEditController from "./actions/albums/edit/controller.tsx";
import { routes } from "./routes.ts";

// ...

router.map(routes, controller);
router.map(routes.albums, albumsController);
router.map(routes.albums.edit, albumsEditController);Now we can create the form page. It's a very simple form that displays the existing data and submits a POST request to our edit action.
import { css } from "remix/component";
import type { Handle } from "remix/component";

import { routes } from "../../../routes.ts";
import { Document } from "../../document.tsx";
import type { Album } from "../data.ts";

export function AlbumEditPage(handle: Handle<{ album: Album }>) {
  return () => {
    let { album } = handle.props;

    return (
      <Document title={`Edit ${album.title} — Albums`}>
        <main mix={css({ padding: "1rem" })}>
          <h1>Edit {album.title}</h1>
          <form
            action={routes.albums.edit.action.href({ albumId: album.id })}
            method="post"
            mix={css({
              display: "grid",
              gap: "0.75rem",
              maxWidth: "fit-content",
              "& input": {
                marginLeft: "0.5rem",
              },
            })}
          >
            <label>
              Title
              <input name="title" defaultValue={album.title} required />
            </label>
            <label>
              Artist
              <input name="artist" defaultValue={album.artist} required />
            </label>
            <label>
              Year
              <input name="year" defaultValue={album.year} required type="number" />
            </label>
            <button type="submit">Save album</button>
          </form>
        </main>
      </Document>
    );
  };
}Let's see our new form in action by hooking up the component to the index action in the controller:
import { createController } from "remix/router";

import { routes } from "../../../routes.ts";
import { getAlbum } from "../data.ts";
import { AlbumEditPage } from "./page.tsx";

export default createController(routes.albums.edit, {
  actions: {
    async index(context) {
      let album = await getAlbum(context.params.albumId);

      if (album === undefined) {
        return new Response("Album not found", { status: 404 });
      }

      return context.render(<AlbumEditPage album={album} />);
    },
    async action() {
      return new Response("Not implemented", { status: 501 });
    },
  },
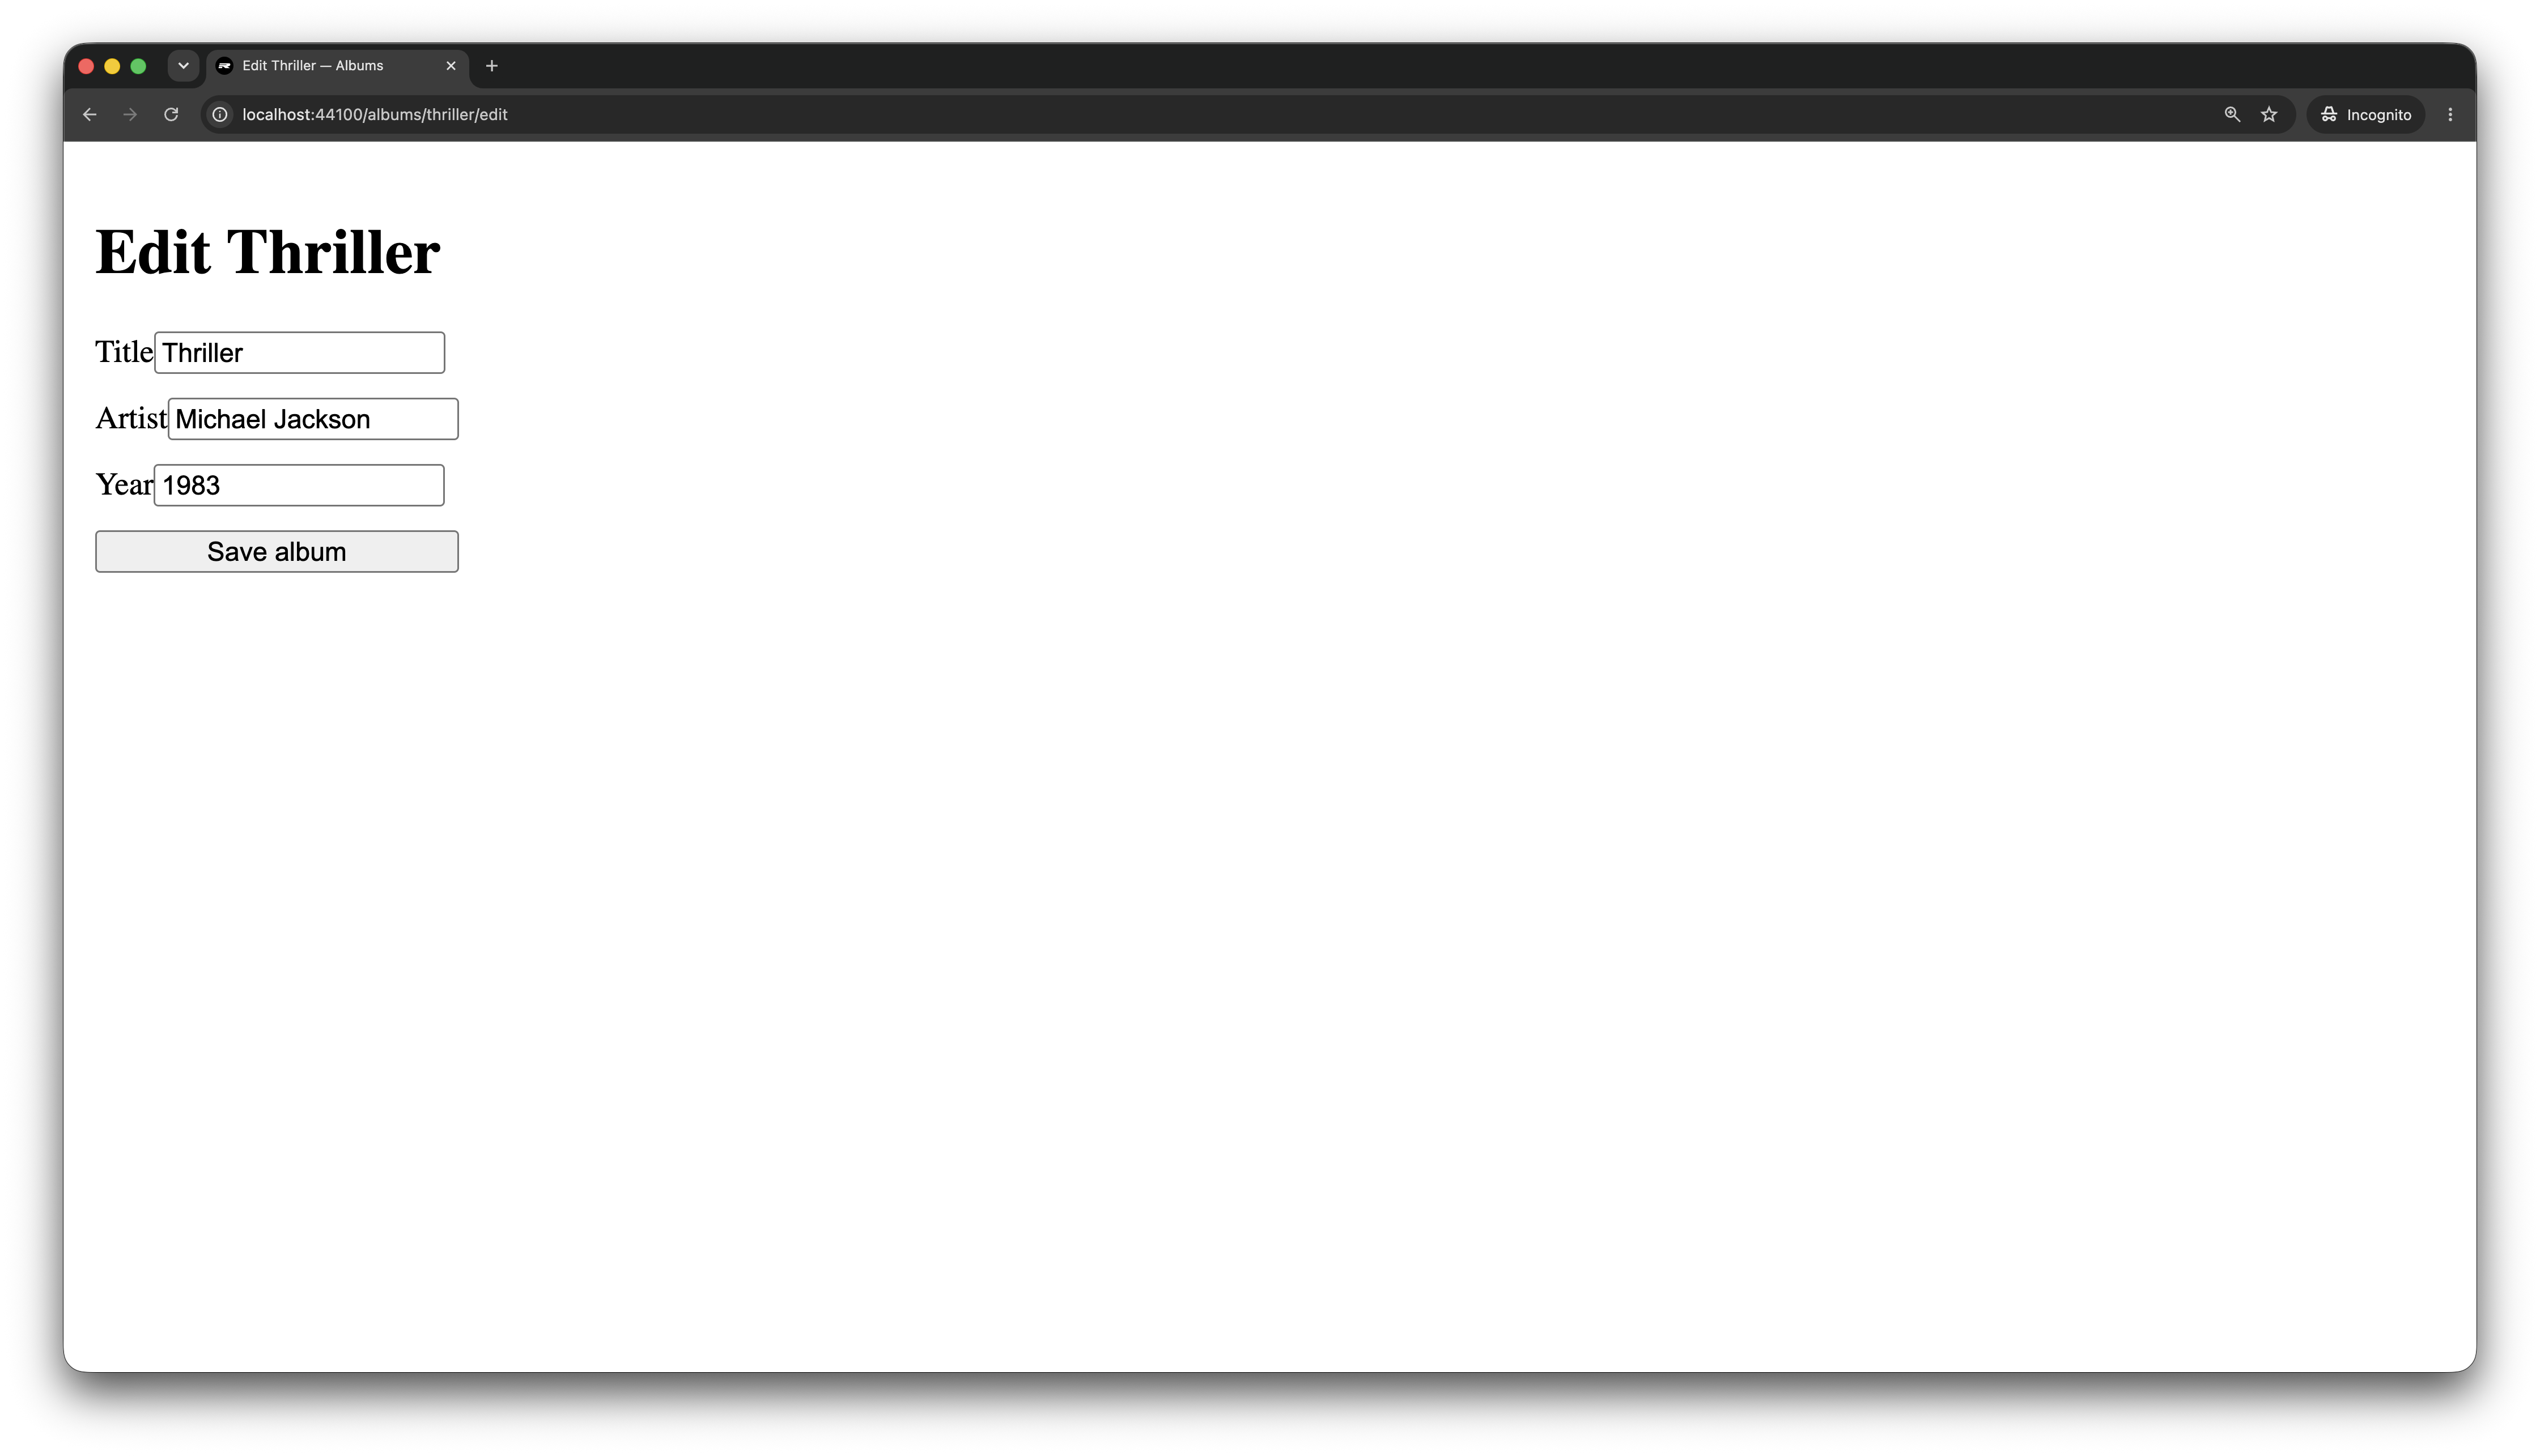
});Open http://localhost:44100/albums/thriller/edit. The route returns an HTML form with the album data filled in.
Before handling the POST request, add the form-data middleware in app/router.ts. It parses browser form bodies once and makes the FormData available to route actions.
import { createRouter, type RouterContext } from "remix/router";
import { formData } from "remix/middleware/form-data";
import { staticFiles } from "remix/middleware/static";

// ...

export const router = createRouter({
  middleware: [staticFiles("./public", { index: false }), formData(), render()],
});

export type AppContext = RouterContext<typeof router>;

declare module "remix" {
  interface RouterTypes {
    context: AppContext;
  }
}

// ...We'll also use remix/data-schema/form-data to turn the raw FormData into typed values before updating the album. remix/data-schema is a built-in Remix library for validating and parsing all sorts of data. The Data and Validation chapter explores it in more detail.
import { createController } from "remix/router";
import * as s from "remix/data-schema";
import * as f from "remix/data-schema/form-data";
import * as coerce from "remix/data-schema/coerce";
import { redirect } from "remix/response/redirect";

import { routes } from "../../../routes.ts";
import { getAlbum, updateAlbum } from "../data.ts";
import { AlbumEditPage } from "./page.tsx";

const albumFormSchema = f.object({
  artist: f.field(s.string()),
  title: f.field(s.string()),
  year: f.field(coerce.number()),
});

export default createController(routes.albums.edit, {
  actions: {
    async index(context) {
      let album = await getAlbum(context.params.albumId);

      if (album === undefined) {
        return new Response("Album not found", { status: 404 });
      }

      return context.render(<AlbumEditPage album={album} />);
    },
    async action({ formData, params }) {
      let result = s.parseSafe(albumFormSchema, formData);

      if (!result.success) {
        return new Response("Invalid album data", { status: 400 });
      }

      let album = await updateAlbum(params.albumId, result.value);

      if (album === undefined) {
        return new Response("Album not found", { status: 404 });
      }

      return redirect(routes.albums.show.href({ albumId: album.id }), 303);
    },
  },
});The action route action validates the parsed Web FormData, returns an explicit response for invalid input or a missing album, and redirects back to the album page after a successful update. The Forms and Mutations chapter shows how to render field-level validation errors back into a form.
Now we can update our album data and set it to the correct year.
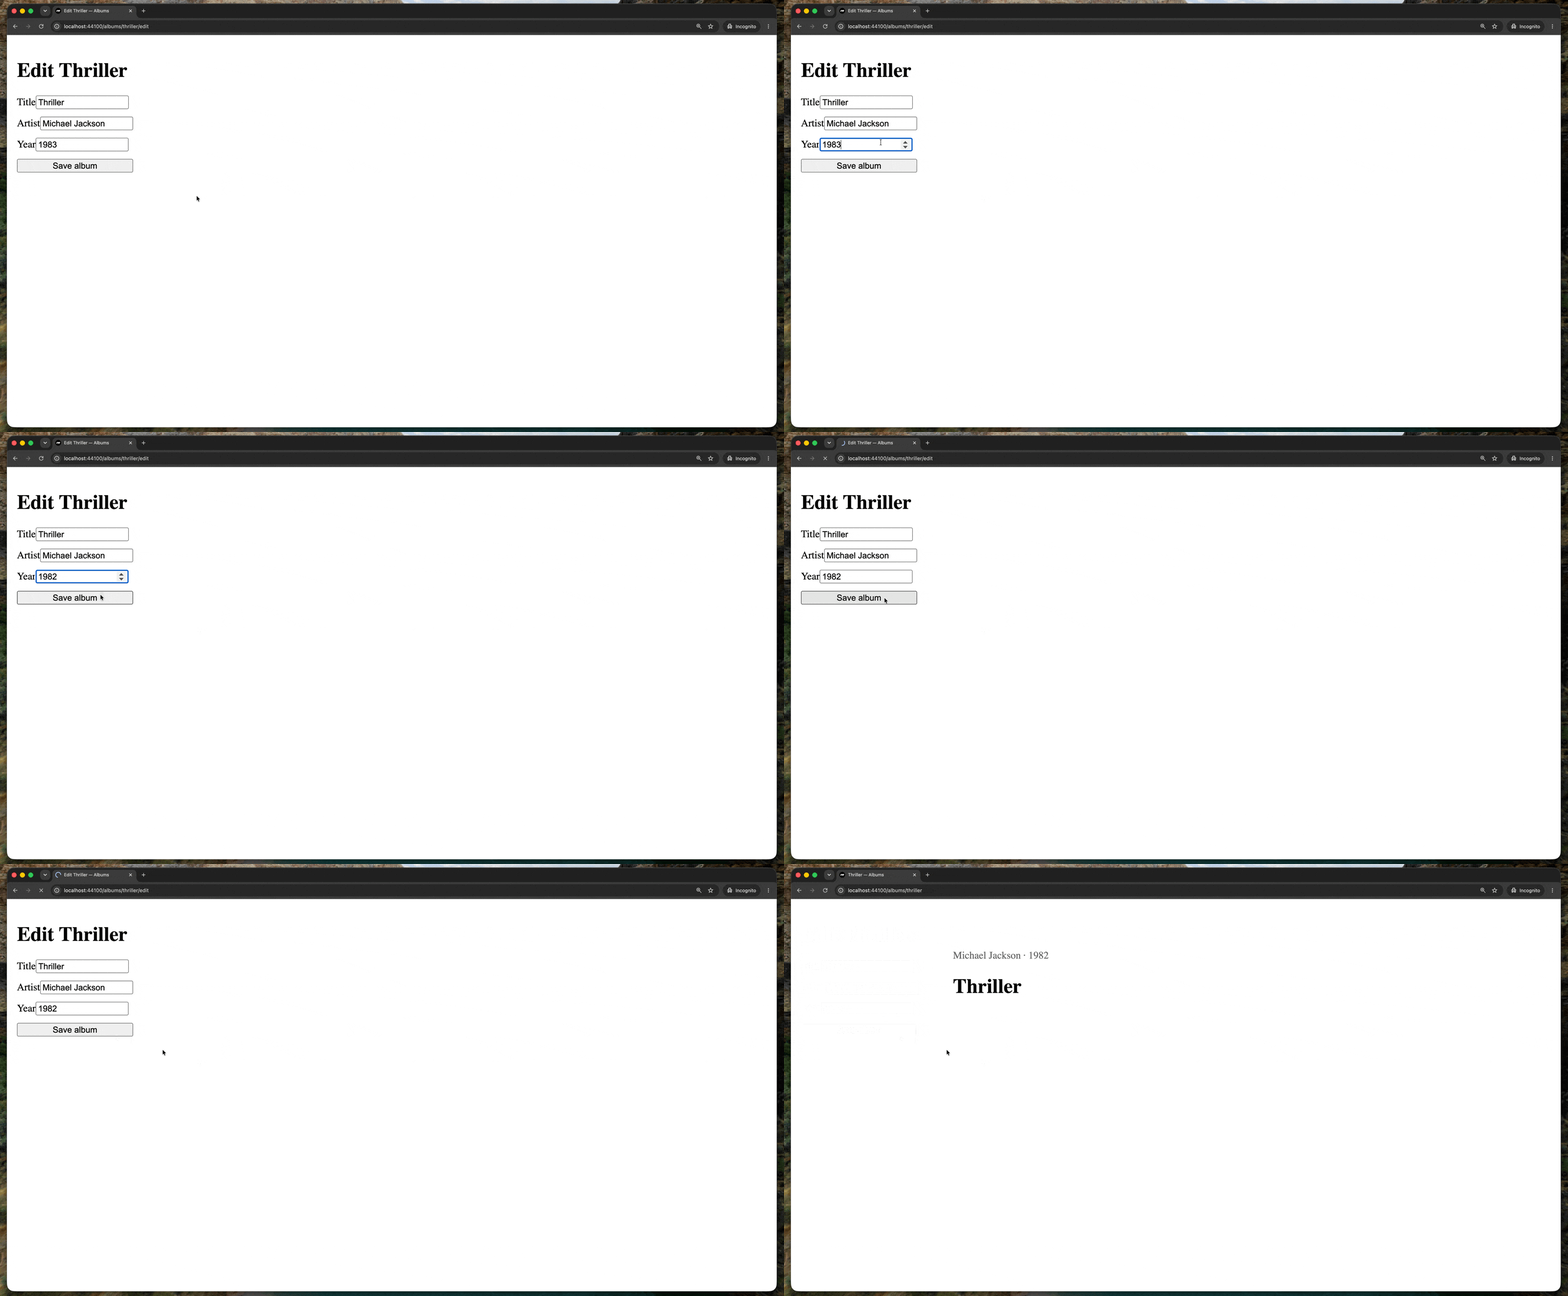
The Routing and Controllers and Data and Validation chapters go deeper on request handling, validation, and database-backed mutations.
Add your first hydrated component
You might have noticed that saving that album takes a little bit of time. That's because we added one second of simulated latency, like a user might experience on a slower connection or far from our server. It's not a terrible loading experience, but it could be better.
So far we have not used any JavaScript in the browser. Everything up to this point has been server-side JavaScript. Even our components are rendered on the server and streamed as HTML.
If we want to signal to the user that their form submission is pending, we need to bring in a little bit of browser JavaScript. In Remix, the easiest way to do this is to wrap a component with clientEntry(...). The component still renders on the server, but once it makes it to the browser Remix can hydrate it, respond to user interaction, and update the component without waiting for another server response.
Start by creating a route-local browser module for the form:
mkdir -p app/actions/albums/edit/public
touch app/actions/albums/edit/public/album-edit-form.tsxThe colocated public/ directory is the explicit browser-source boundary. The template's asset server allows source beneath app/**/public/**, so Remix can turn this component and its local dependencies into browser modules. Keep those local dependencies inside the same public/ directory; app/routes.ts is allowed separately for type-safe links. The template also loads app/actions/public/entry.ts, which starts the Remix component client runtime. The Files and Assets chapter goes deeper into this bundlerless setup.
Now that we have a place for the form to live, let's pull it into its own component.
import { css } from "remix/component";
import type { Handle } from "remix/component";

import { routes } from "../../../../routes.ts";

interface Album {
  artist: string;
  id: string;
  title: string;
  year: number;
}

export function AlbumEditForm(handle: Handle<{ album: Album }>) {
  return () => {
    let { album } = handle.props;

    return (
      <form
        action={routes.albums.edit.action.href({ albumId: album.id })}
        method="post"
        mix={css({
          display: "grid",
          gap: "0.75rem",
          maxWidth: "fit-content",
          "& input": {
            marginLeft: "0.5rem",
          },
        })}
      >
        <label>
          Title
          <input name="title" defaultValue={album.title} required />
        </label>
        <label>
          Artist
          <input name="artist" defaultValue={album.artist} required />
        </label>
        <label>
          Year
          <input name="year" defaultValue={album.year} required type="number" />
        </label>
        <button type="submit">Save album</button>
      </form>
    );
  };
}Let's update the edit page to render this new AlbumEditForm component:
import type { Handle } from "remix/component";
import { css } from "remix/component";

import { AlbumEditForm } from "./public/album-edit-form.tsx";
import { Document } from "../../document.tsx";
import type { Album } from "../data.ts";

export function AlbumEditPage(handle: Handle<{ album: Album }>) {
  return () => {
    let { album } = handle.props;

    return (
      <Document title={`Edit ${album.title} — Albums`}>
        <main mix={css({ padding: "1rem" })}>
          <h1>Edit {album.title}</h1>
          <AlbumEditForm album={album} />
        </main>
      </Document>
    );
  };
}Everything should look like it did before.
Next mark the form as a client entry. import.meta.url tells our asset server which source file should be turned into a browser-loadable module:
import { clientEntry, css } from "remix/component";
import type { Handle } from "remix/component";

import { routes } from "../../../../routes.ts";

interface Album {
  artist: string;
  id: string;
  title: string;
  year: number;
}

export const AlbumEditForm = clientEntry(
  import.meta.url,
  function AlbumEditForm(handle: Handle<{ album: Album }>) {
    // ...
  },
);The page should still look and behave the same. clientEntry(...) simply tells Remix to render the form on the server, serialize its props, and hydrate this component in the browser when the client runtime starts.
Now that the form can run in the browser, we can add pending state. State in Remix is just a variable. Create your "state" as a variable in the setup scope (in this case, let pending):
// ...

export const AlbumEditForm = clientEntry(
  import.meta.url,
  function AlbumEditForm(handle: Handle<{ album: Album }>) {
    let pending = false;

    return () => {
      // ...
    };
  },
);When the form submits, we flip the pending variable from false to true and call handle.update(). handle.update() tells the component runtime to render this component again with the new local state. To listen for the submit, we add an event listener via the on helper and pass an array into the mix prop.
import { clientEntry, css, on } from "remix/component";
import type { Handle } from "remix/component";

import { routes } from "../../../../routes.ts";

interface Album {
  artist: string;
  id: string;
  title: string;
  year: number;
}

export const AlbumEditForm = clientEntry(
  import.meta.url,
  function AlbumEditForm(handle: Handle<{ album: Album }>) {
    let pending = false;

    return () => {
      let { album } = handle.props;

      return (
        <form
          action={routes.albums.edit.action.href({ albumId: album.id })}
          method="post"
          mix={[
            css({ display: "grid", gap: "0.75rem", maxWidth: "fit-content" }),
            on("submit", () => {
              pending = true;
              handle.update();
            }),
          ]}
        >
          {/* ... */}
          <button disabled={pending} type="submit">
            {pending ? "Saving…" : "Save album"}
          </button>
        </form>
      );
    };
  },
);Now when you submit the form, the button is disabled and the button text changes to “Saving…”.
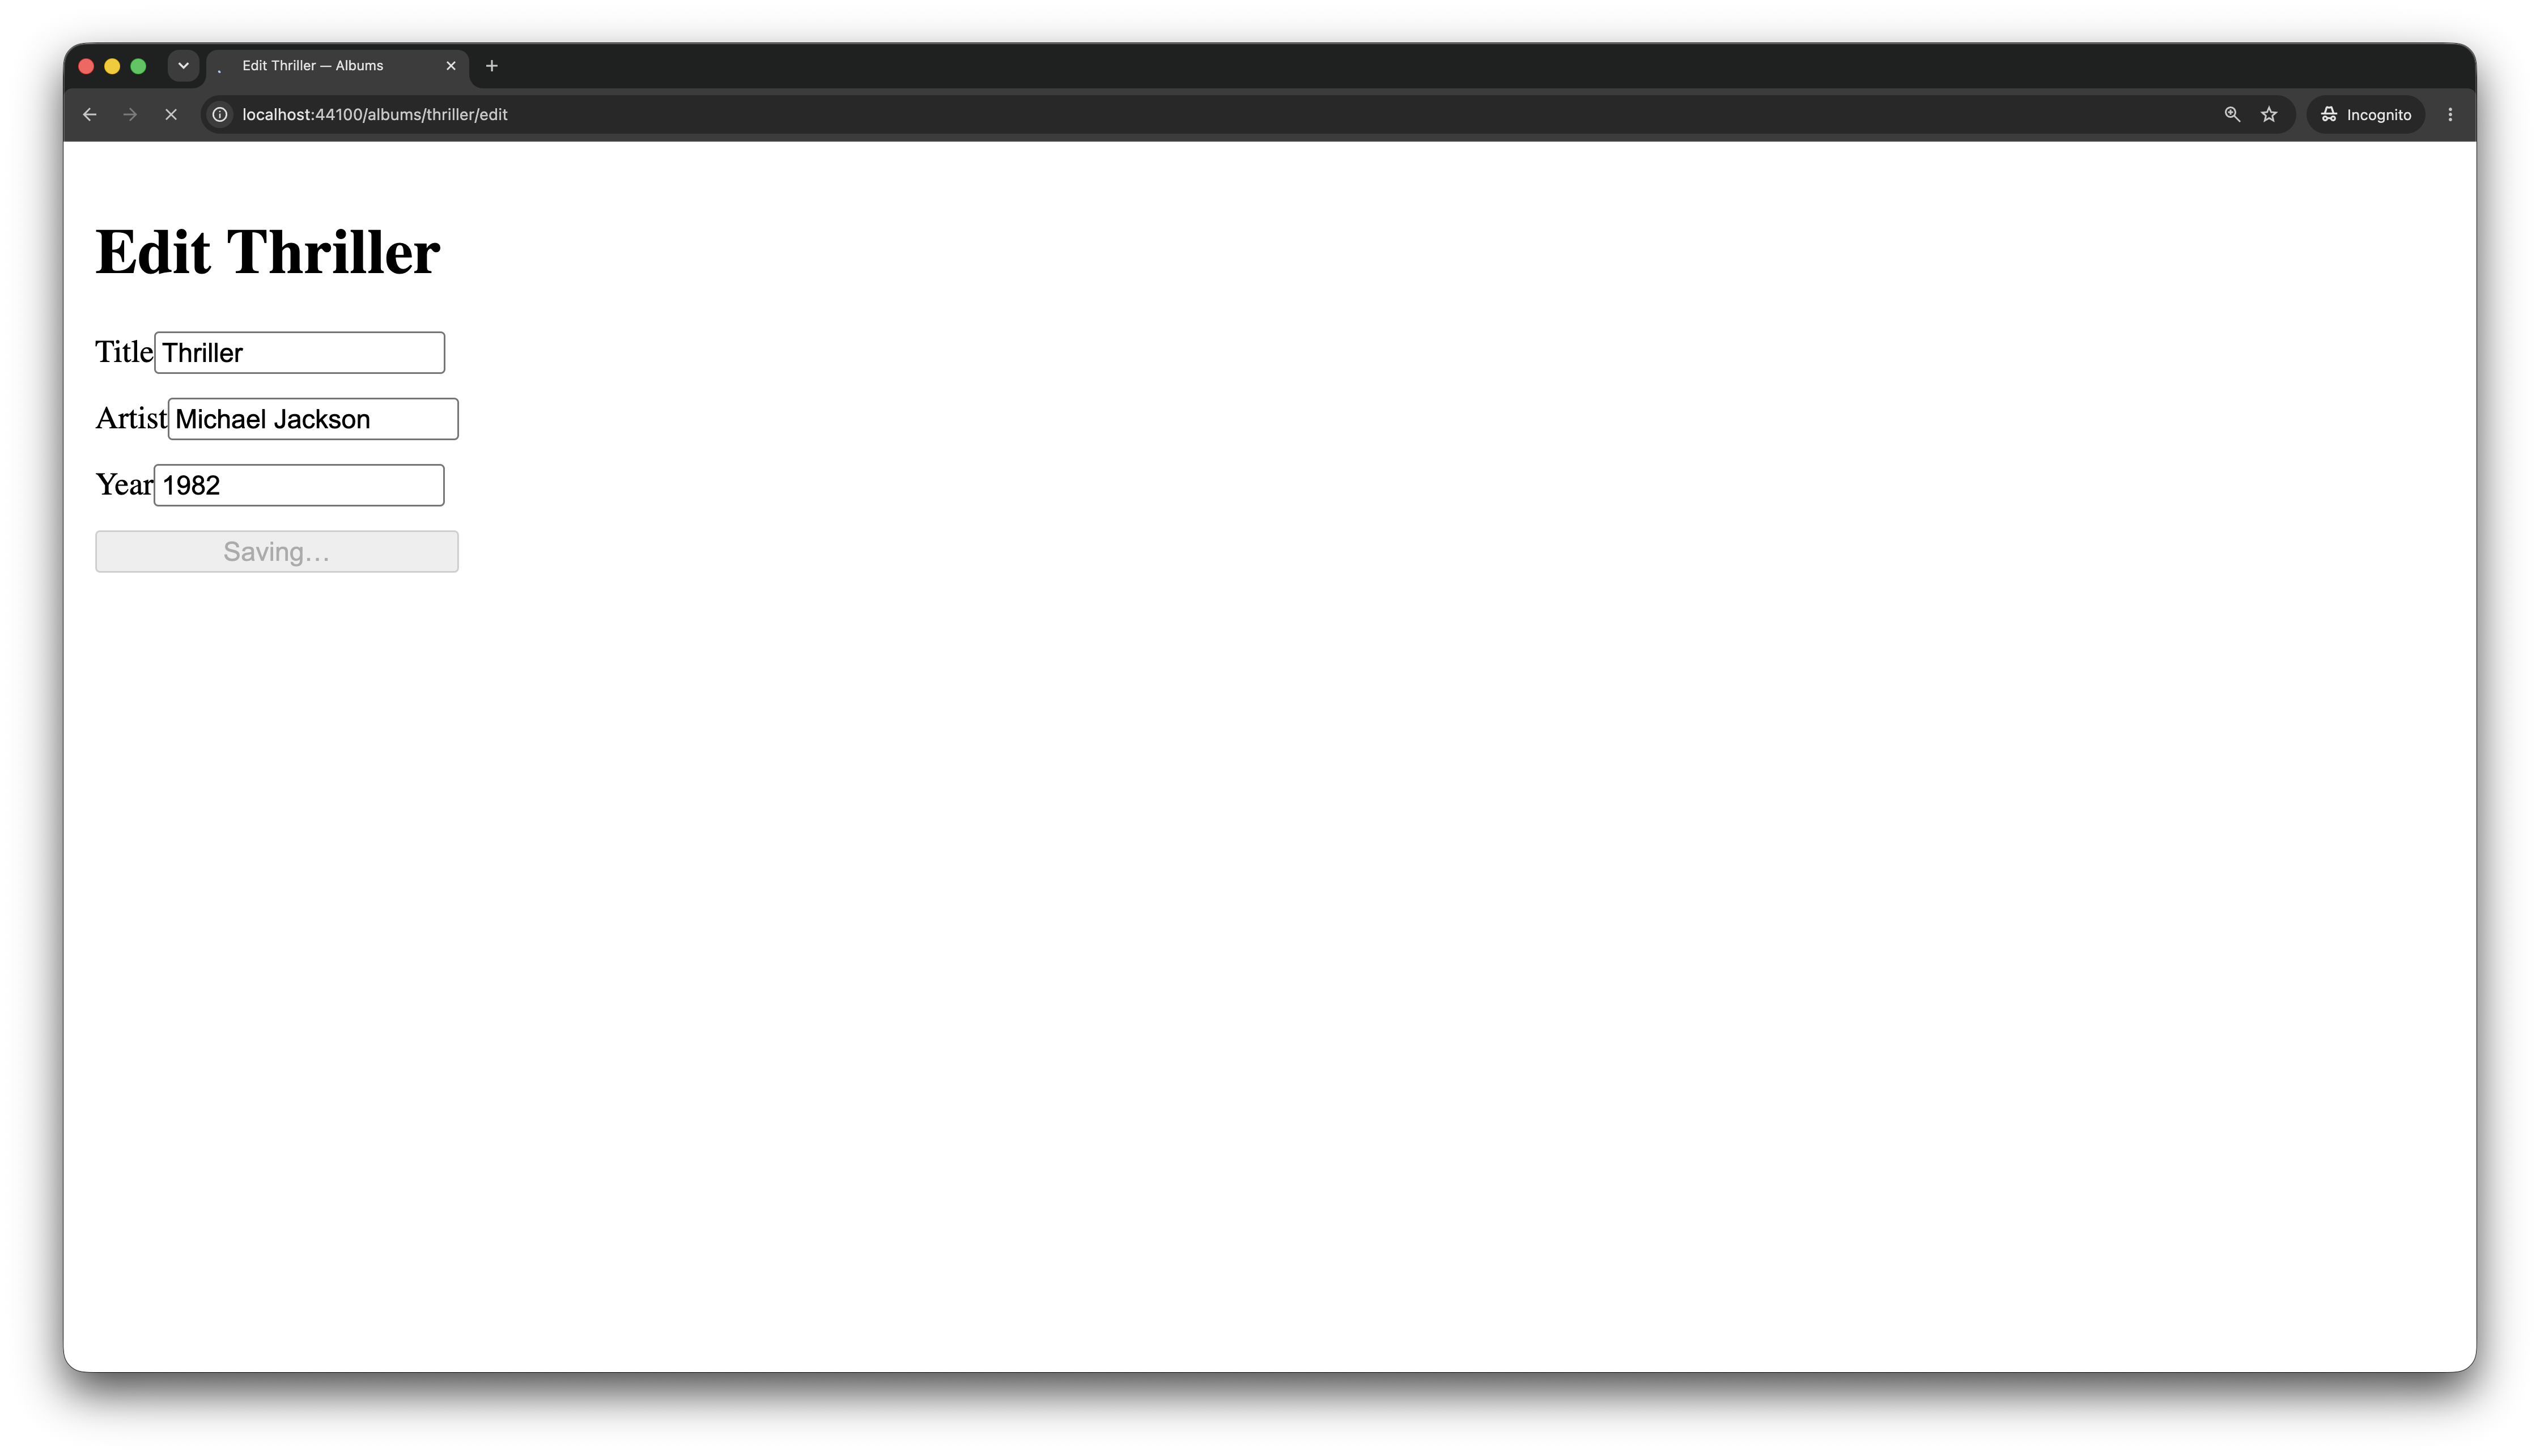
There is a lot more we could do here to avoid a full page navigation, but that involves handling cancellations, error states, and more. The Interactivity chapter covers client entries, events, and progressive enhancement in more detail.
Next, Routing and Controllers takes a closer look at the route leaves, nested maps, and controllers we started using here.